Lionel repair manuals are essential resources for enthusiasts, providing detailed guidance on maintenance, troubleshooting, and restoration․ These manuals ensure the longevity and functionality of Lionel trains, offering step-by-step instructions, diagrams, and historical insights for both novice and experienced hobbyists alike․
Overview of Lionel Trains and Their Historical Significance
Lionel Trains, founded in 1900 by Joshua Lionel Cowen, have become an iconic symbol of model railroading․ Known for their innovative designs and durability, Lionel trains gained popularity in the early 20th century with their track-powered systems․ The postwar era (1945–1969) marked a golden age, introducing the O-27 gauge and iconic locomotives like the 726․ This period solidified Lionel’s reputation for quality and creativity, making them a household name․ The company’s commitment to craftsmanship and innovation has endured, blending classic designs with modern advancements․ Lionel trains hold historical significance as they represent a nostalgic connection to the past while continuing to inspire new generations of hobbyists and collectors․ Their enduring appeal lies in their timeless craftsmanship and the joy they bring to enthusiasts worldwide, making them a cherished part of model railroading history․
Importance of Repair Manuals for Maintenance and Restoration
Repair manuals are indispensable for maintaining and restoring Lionel trains, ensuring their functionality and longevity․ These guides provide detailed instructions, diagrams, and technical specifications, enabling users to identify and resolve issues effectively․ They are particularly valuable for postwar era models, where specific repair techniques and compatibility are crucial․ The Greenberg’s Repair Manual, for instance, is widely regarded as a comprehensive resource, covering trains, transformers, and accessories from 1945 to 1969․ It includes corrections and updates, ensuring accuracy for complex repairs․ Additionally, these manuals help preserve the longevity and functionality of Lionel trains, maintaining their value for future generations․ For those new to train repair, they serve as essential learning tools, while experienced hobbyists rely on them for precise technical information․ Overall, repair manuals are vital for keeping Lionel trains operational and ensuring their continued enjoyment by collectors and enthusiasts alike․
Key Features of Lionel Repair Manuals
Lionel repair manuals are renowned for their comprehensive coverage of maintenance and restoration processes․ They include detailed diagrams, exploded views, and step-by-step instructions for identifying and replacing parts․ These manuals cover a wide range of models, from classic postwar trains to modern designs, ensuring versatility for enthusiasts․ Troubleshooting tips and technical specifications are prominently featured, helping users diagnose and resolve issues efficiently․ Many manuals, such as Greenberg’s, provide historical context and model-specific information, making them invaluable for accurate repairs․ Additionally, they often include corrections and updates, ensuring reliability for complex tasks․ Practical advice from experienced collectors and operators is also incorporated, offering insights into common challenges and solutions․ Whether in print or digital format, Lionel repair manuals are indispensable for preserving the functionality and legacy of these iconic trains․
Types of Lionel Repair Manuals
Lionel repair manuals are available in various forms, including Greenberg’s comprehensive guides for postwar models and K-Line manuals offering detailed schematics․ They cater to both classic and modern trains, ensuring versatility for enthusiasts․
Greenberg’s Repair and Operating Manual
Greenberg’s Repair and Operating Manual is a highly regarded resource for Lionel train enthusiasts, particularly for postwar models from 1945 to 1969․ This comprehensive guide spans 736 pages, offering detailed diagrams, repair tips, and part identification․ It covers various components, including locomotives, transformers, and accessories, with step-by-step instructions for troubleshooting and maintenance․ Users praise its accuracy and depth, though some note the need to cross-reference updates․ The manual is indispensable for preserving Lionel’s legacy, providing historical context and technical insights․ It remains a trusted tool for both novices and experienced collectors, ensuring the longevity and functionality of classic Lionel trains․ Greenberg’s manual is a cornerstone for anyone dedicated to restoring and maintaining their Lionel collection․
K-Line Service Manuals
K-Line Service Manuals are invaluable resources for Lionel train enthusiasts, offering detailed technical guidance for repairs and maintenance․ These manuals are part of Lionel’s official support materials, designed to help users troubleshoot and fix issues with their trains and accessories․ They include extensive schematics, part lists, and step-by-step instructions, making them indispensable for both novice and experienced hobbyists․ Unlike Greenberg’s manual, K-Line manuals focus more on the technical aspects of repair, providing a deeper understanding of Lionel’s engineering․ They cover a wide range of models and eras, ensuring comprehensive coverage for various Lionel train sets․ Many users appreciate the clarity and precision of K-Line manuals, which enable them to restore their trains to optimal condition․ However, some enthusiasts note that these manuals may require additional research for certain rare or discontinued parts․ Overall, K-Line Service Manuals are a trusted companion for anyone aiming to maintain or restore their Lionel trains effectively․
Digital and Print Formats of Lionel Manuals
Lionel repair manuals are available in both digital and print formats, catering to the preferences of modern and traditional enthusiasts․ Digital manuals offer convenient access, with searchable content and downloadable options, making them ideal for quick reference․ Print manuals, such as Greenberg’s comprehensive 736-page guide, provide tactile ease and detailed visuals, perfect for hands-on work․ Many enthusiasts appreciate the clarity of digital formats for troubleshooting, while others prefer the reliability of physical copies for long-term use․ The Greenberg Repair Manual, for instance, is available as a CD set, featuring exploded views and repair tips for postwar models․ Digital formats often include updates and corrections, ensuring accuracy, while print editions remain cherished for their durability and nostalgic appeal․ Both formats ensure that Lionel train owners can access the guidance they need to maintain and restore their trains effectively, preserving their functionality and legacy for future generations․
Common Repairs and Maintenance
Common Lionel train repairs include cleaning locomotive wheels and tracks, lubricating moving parts, and checking electrical connections․ Regular maintenance ensures smooth operation and prevents major issues from arising over time․
Electrical Repairs and Troubleshooting
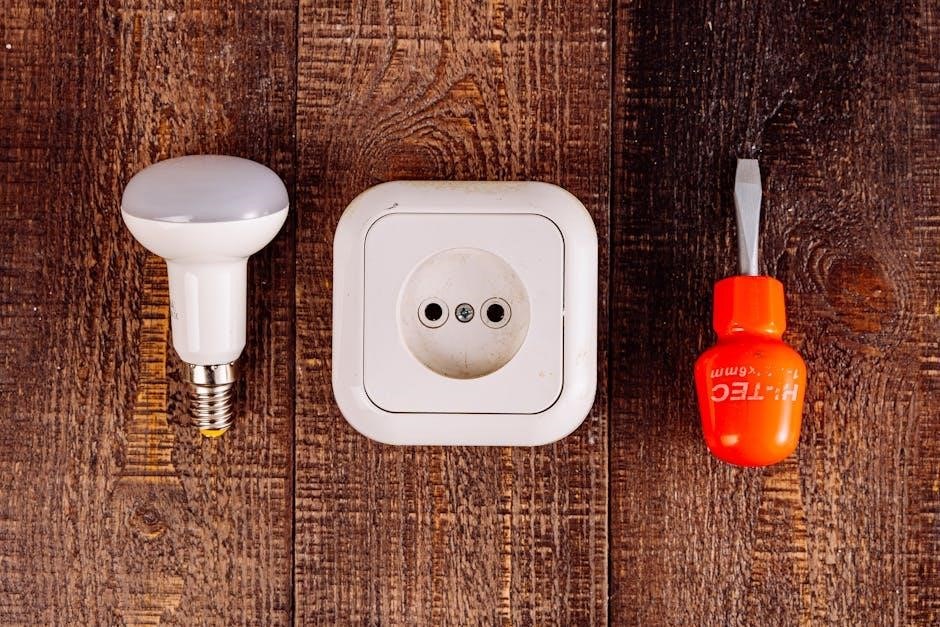
Electrical issues in Lionel trains often involve power loss, dim lights, or faulty connections․ Start by inspecting wires and connections for damage or corrosion․ Ensure all plugs and terminals are secure, as loose connections are a common cause of failures․ Check for short circuits, which can occur due to misplaced wires or faulty components․ If a train or accessory lacks power, verify the transformer’s functionality and voltage output․ For complex issues like faulty motors or circuit breakers, consult repair manuals such as Greenberg’s or K-Line, which provide detailed schematics and solutions․ Using a multimeter to test voltage and resistance can help identify malfunctions․ Regular maintenance, including cleaning track surfaces and lubricating parts, prevents many electrical issues․ Always reference repair manuals before attempting repairs to ensure safety and accuracy․
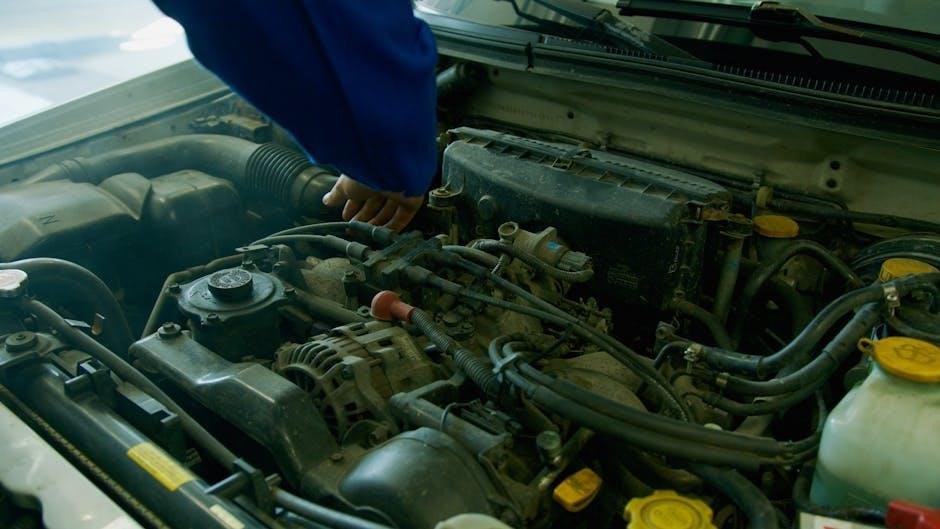
Mechanical Repairs and Component Replacement
Mechanical repairs for Lionel trains often involve addressing issues like wheels not turning, gears grinding, or accessories malfunctioning․ Start by inspecting the train’s wheels and axles for dirt, debris, or wear․ Clean them with a soft brush or cloth and ensure proper lubrication using lightweight oil․ If gears are noisy or jammed, check for misalignment or obstructions․ For derailments, examine the track for damage or debris and ensure couplers are functioning correctly․ Verify that all screws and bolts are securely tightened, as loose components can cause instability․ For complex issues, such as faulty motors or damaged gears, consult repair manuals like Greenberg’s or K-Line for detailed repair procedures and part replacement guidelines․ Regular lubrication of axles and cleaning of tracks can prevent many mechanical issues․ Always refer to the appropriate manual before attempting repairs to ensure accuracy and safety․
Regular Maintenance Tips for Lionel Trains
Regular maintenance is crucial for ensuring the smooth operation and longevity of Lionel trains․ Start by cleaning the tracks thoroughly with a soft cloth or track cleaning solution to remove dirt and debris, which can cause electrical issues and derailments․ Next, inspect and clean the locomotive’s wheels and axles, ensuring they are free from dust and oil residue․ Lubricate moving parts, such as axles and gears, with a lightweight oil to prevent friction and wear․ Check for loose screws or bolts and tighten them as needed to maintain stability․ Additionally, store trains and accessories in a dry, cool environment to prevent rust and corrosion․ Finally, refer to repair manuals like Greenberg’s or K-Line for specific maintenance recommendations tailored to your Lionel model․ By following these simple steps, you can keep your Lionel trains running smoothly and preserve their condition for years to come․
Advanced Repair Techniques
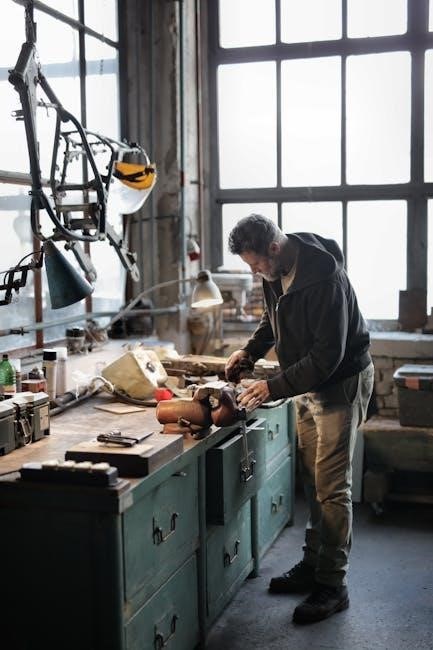
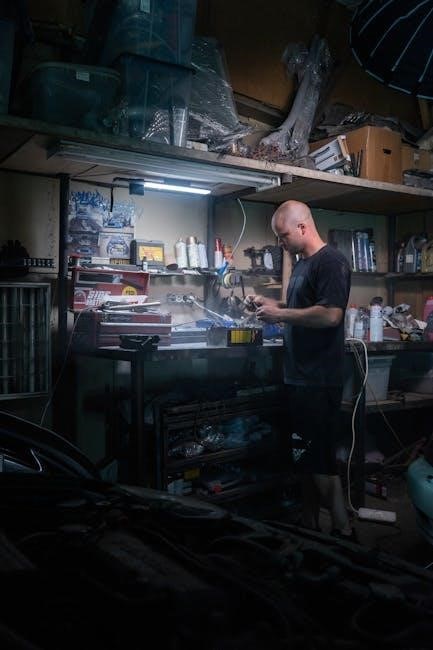
Advanced repair techniques for Lionel trains involve specialized tools and expert knowledge, often requiring soldering, rewiring, and precise mechanical adjustments․ Referencing detailed manuals ensures professional-grade restorations and optimal performance․
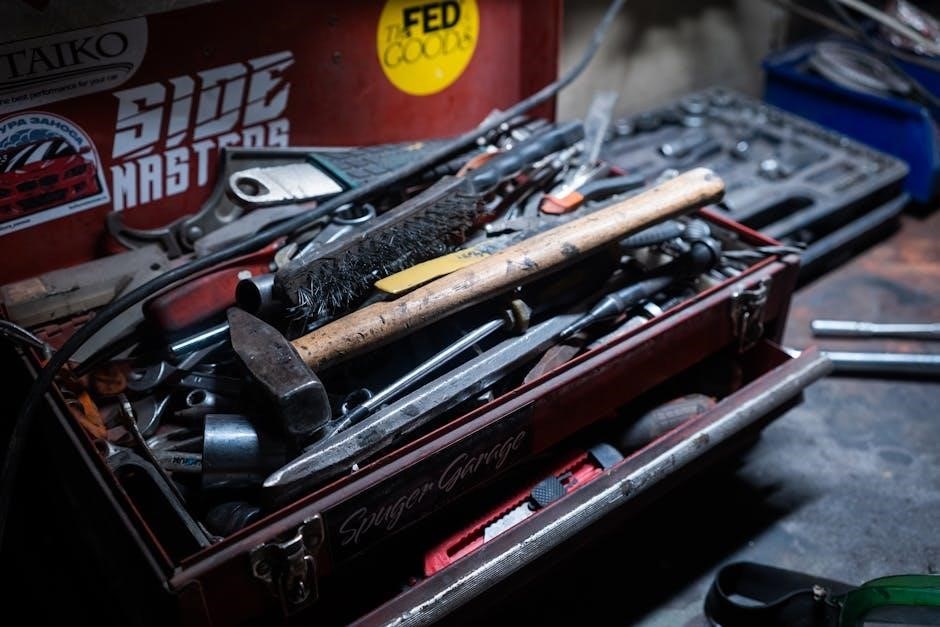
Specialized Tools for Lionel Train Repairs
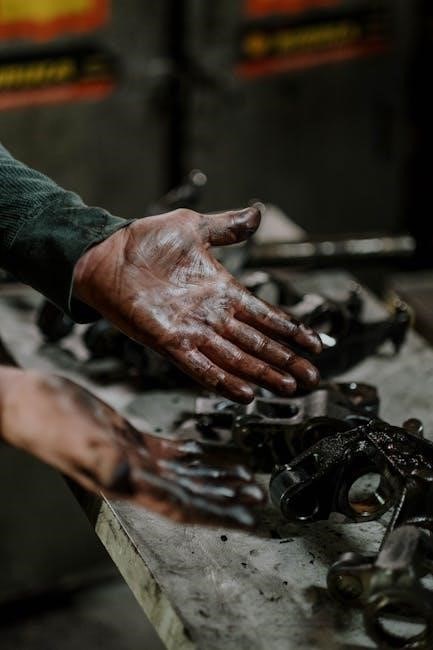
Specialized tools are essential for effectively repairing and maintaining Lionel trains․ A soldering iron is crucial for rewiring and fixing electrical connections, while a multimeter helps diagnose voltage and resistance issues․ Precision screwdrivers are necessary for accessing and adjusting small components․ Lubrication tools, like oil cans, keep mechanical parts running smoothly․ Additionally, track cleaning solutions and brushes are vital for maintaining proper electrical conductivity․ For disassembling locomotives, torque wrenches and gear pullers are often required․ These tools, combined with detailed repair manuals, empower enthusiasts to tackle complex repairs confidently․ Regular use of these tools ensures Lionel trains operate optimally and lasts for generations․ Proper tool selection and maintenance are key to successful repairs, preserving the legacy of these iconic trains․ By investing in the right tools, hobbyists can ensure their Lionel trains continue to run smoothly and efficiently over time․
Soldering and Rewiring Techniques
Soldering and rewiring are critical skills for Lionel train repairs, often required to fix electrical connections and components․ A soldering iron is essential for joining wires, switches, and bulbs securely․ Start by cleaning the soldering iron tip and ensuring the area is well-ventilated․ Apply a small amount of solder to the tip, then heat the joint to create a strong bond․ Use flux to improve solder flow and avoid overheating components․ For rewiring, carefully trace circuits to identify damaged or frayed wires․ Replace them with compatible gauges, ensuring proper insulation and secure connections․ Practice on scrap materials to refine techniques․ Always refer to repair manuals for specific guidance, as improper soldering can lead to short circuits or malfunctions․ Proper soldering ensures reliable operation and longevity of Lionel trains, making it a vital skill for enthusiasts and collectors alike․
Disassembling and Reassembling Locomotives
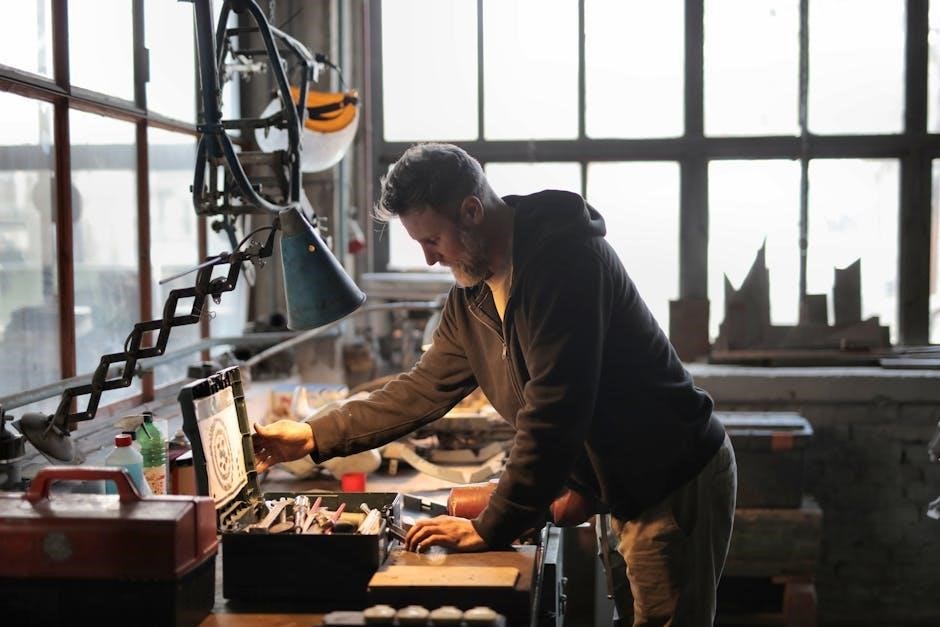
Disassembling and reassembling Lionel locomotives requires precision and patience to ensure proper functionality after repairs․ Begin by documenting each step and labeling removed parts to facilitate reassembly․ Use specialized tools, such as screwdrivers and wrenches, to carefully remove bolts, screws, and clips without damaging components․ Start with the exterior, removing shells and casings to access internal mechanisms․ Gently disconnect wiring and connections, noting their positions for later reconnection․ For complex components like motors and gearboxes, refer to repair manuals for detailed instructions․ During reassembly, align parts precisely, ensuring all fasteners are securely tightened․ Reconnect wiring carefully to avoid short circuits․ Test the locomotive post-reassembly to ensure smooth operation․ Proper disassembly and reassembly techniques preserve the integrity of Lionel trains, making them essential skills for effective restoration and maintenance․
Locomotive-Specific Repairs
Locomotive-specific repairs involve targeted fixes for motors, gears, and electrical components․ These repairs require precise techniques and tools, ensuring optimal performance and longevity of Lionel trains, as detailed in repair manuals․
Repairing Motors and Gears
Repairing motors and gears in Lionel trains is a critical task to ensure smooth operation and longevity․ Specialized tools, such as screwdrivers and gear pullers, are essential for disassembling and inspecting internal components․ Lubrication of gears and motor bearings is vital to prevent overheating and wear․ For complex issues, refer to repair manuals like Greenberg’s, which provide detailed schematics and step-by-step instructions․ Proper alignment of gears during reassembly is crucial to avoid jamming or noise․ Regular maintenance, such as cleaning and lubricating, can prevent major repairs․ Always consult the appropriate manual for specific guidance tailored to your Lionel model․ By addressing motor and gear issues promptly, enthusiasts can restore their trains to optimal performance, ensuring years of reliable operation․
Fixing Electrical Components and Connections
Electrical issues in Lionel trains often stem from faulty components or connections․ Start by using a multimeter to check for voltage and resistance, helping identify short circuits or open connections․ Inspect wires for corrosion or damage, ensuring all plugs and terminals are secure․ If wires are frayed, replace them with compatible Lionel wiring․ Verify the transformer’s voltage output matches the train’s requirements․ For complex repairs, soldering may be necessary; practice on scrap wires first․ Consult repair manuals like Greenberg’s for detailed instructions and diagrams․ Engage with online forums for additional tips and advice from experienced enthusiasts․ Addressing electrical issues methodically ensures optimal performance and longevity for your Lionel train․
Restoring Vintage Lionel Locomotives
Restoring vintage Lionel locomotives requires meticulous care and attention to detail to preserve their historical integrity and functionality․ Begin by disassembling the locomotive, carefully documenting each step to ensure proper reassembly․ Clean all surfaces, removing dirt and grime without damaging the finish․ Inspect electrical components for corrosion or wear, replacing wiring or connections as needed․ Lubricate moving parts to restore smooth operation․ Use specialized tools, such as screwdrivers and soldering irons, to handle delicate adjustments․ Refer to Greenberg’s Repair Manual or K-Line Service Manuals for detailed instructions tailored to your model․ Additionally, consult online forums for advice from experienced enthusiasts․ When reassembling, ensure all components are securely fastened and aligned properly․ Finally, test the locomotive to verify that all electrical and mechanical systems function correctly․ Regular maintenance and careful restoration will ensure your vintage Lionel locomotive runs beautifully for years to come․

Resources and References
Key resources include Greenberg’s Repair Manual and K-Line Service Manuals, offering detailed guidance for Lionel train repairs․ Online forums and communities provide additional support and advice for enthusiasts․
Online Communities and Forums for Lionel Enthusiasts
Online communities and forums are vibrant hubs for Lionel train enthusiasts, offering invaluable resources and support․ These platforms provide spaces for hobbyists to share knowledge, ask questions, and exchange tips on repairs, maintenance, and restoration․ Many forums feature detailed discussions on troubleshooting common issues, such as electrical malfunctions or mechanical repairs, with experienced members offering expert advice․ Additionally, these communities often host threads dedicated to rare or discontinued parts, helping users locate hard-to-find components․ Enthusiasts can also access shared repair manuals, schematics, and DIY guides, which are particularly useful for restoring vintage models․ The collaborative nature of these forums fosters a sense of camaraderie, connecting collectors and hobbyists worldwide․ By engaging with these online resources, enthusiasts can gain insights, solve problems, and preserve their Lionel trains for future generations․ These communities are indispensable for anyone passionate about maintaining and enjoying their Lionel collection․
Recommended Repair Manuals and Guides
Several repair manuals and guides are highly recommended for Lionel train enthusiasts, each offering unique benefits for maintenance and restoration․ Greenberg’s Repair and Operating Manual is a standout resource, covering Lionel trains, transformers, and accessories from 1945 to 1969․ This comprehensive guide includes detailed diagrams, repair tips, and part lists, making it indispensable for postwar era models․ K-Line Service Manuals are another excellent choice, providing technical specifications and schematics for specific Lionel models․ Additionally, the Lionel Train Service and Repair Manuals CD set is a valuable resource, featuring over 700 pages of exploded views and maintenance tips for locomotives, accessories, and transformers․ These manuals are essential for troubleshooting, part identification, and ensuring accurate repairs․ Whether you’re a novice or an experienced hobbyist, these guides offer the expertise needed to restore and maintain Lionel trains effectively, preserving their functionality and historical value for years to come․
Where to Find Rare or Discontinued Parts
Finding rare or discontinued Lionel parts can be challenging but is made easier through specialized resources․ Online forums and communities, such as eBay and Facebook groups dedicated to Lionel enthusiasts, often list vintage and hard-to-find components․ Specialized dealers and vintage hobby shops also carry rare parts, catering to collectors and restorers․ Additionally, model train shows and events are excellent venues for networking with collectors who may have unused or rare parts for sale․ Some enthusiasts recommend consulting Lionel’s official parts catalog, even for discontinued items, as they may offer alternatives or reissued versions․ For particularly rare components, consider reaching out to collector communities or restoration experts who may have access to obscure or archived parts․ Persistence and creativity are key in tracking down rare Lionel parts, ensuring your trains remain functional and authentic․